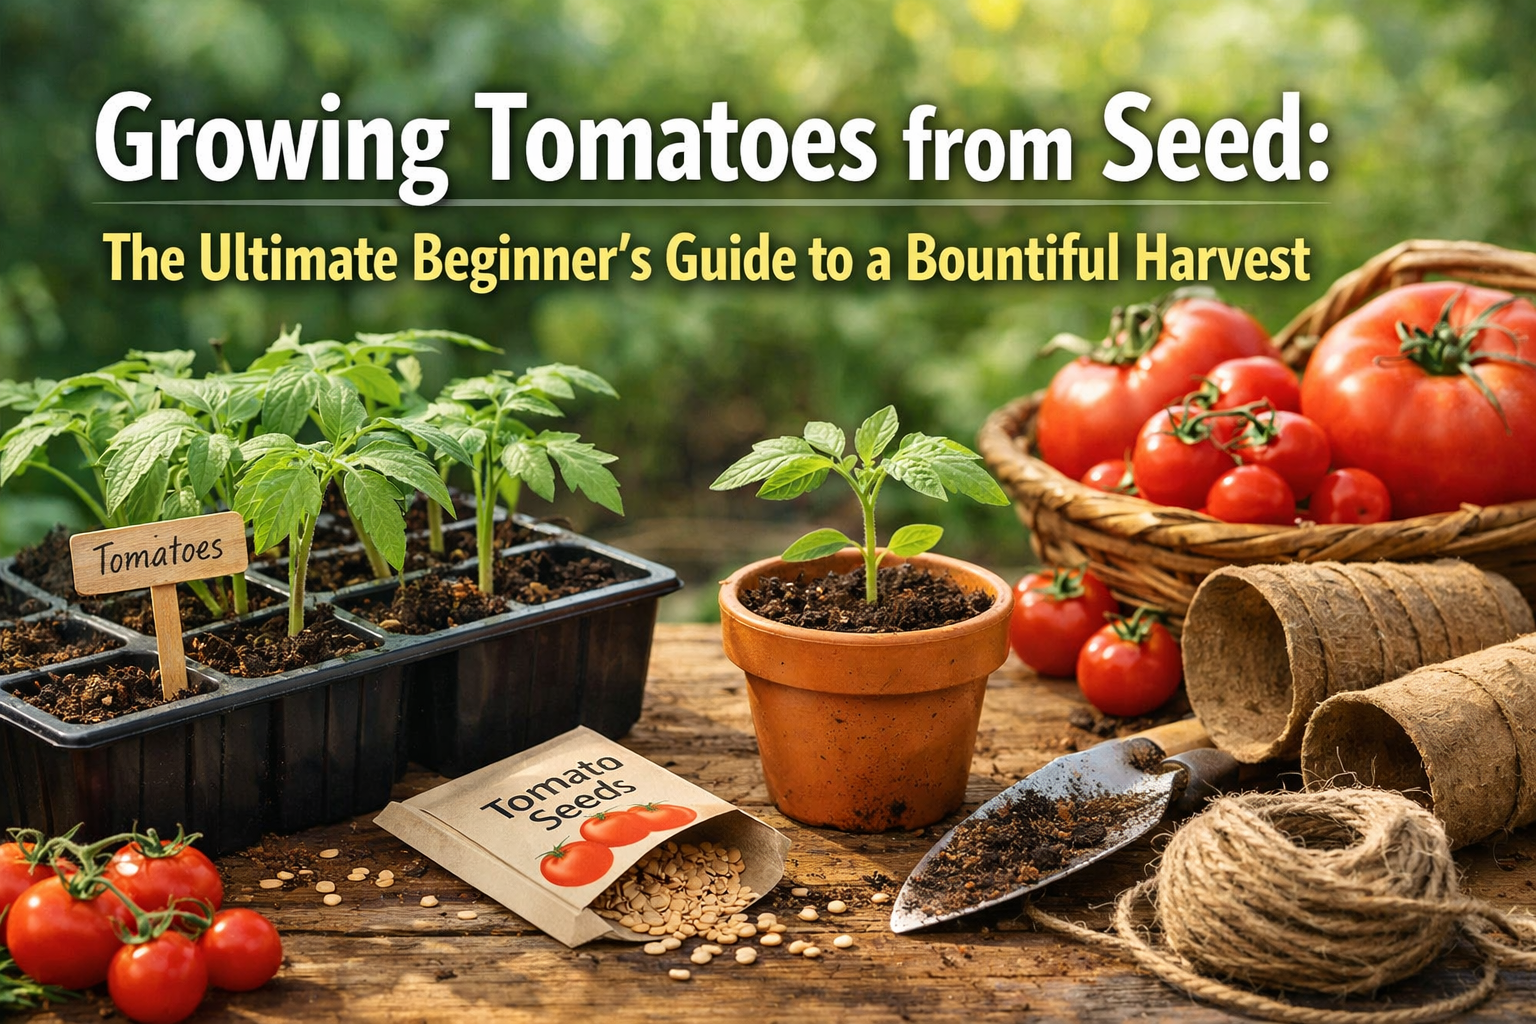
Growing Tomatoes from Seed
There's a moment, usually around late July, when you pick the first ripe tomato from a plant you grew from seed. You bite into it, still warm from the sun, and it tastes nothing like a supermarket tomato. It tastes like summer itself.
That moment is why people grow tomatoes. And it starts with a tiny seed.
Choosing Your Tomato
Before anything else, you need to decide what kind of tomato to grow. There are two fundamental types:
Determinate vs Indeterminate
- Determinate — compact bush plants that grow to a fixed size, fruit all at once, then stop. Great for containers and canning
- Indeterminate — vining plants that keep growing and fruiting until frost kills them. More fruit overall, but need support
Recommended Varieties for Beginners
| Variety | Type | Why It's Great |
|---|---|---|
| Roma | Determinate | Thick flesh, perfect for sauce. Low maintenance |
| Cherry Tomato (Sungold) | Indeterminate | Incredibly sweet. Prolific producer |
| Beefsteak | Indeterminate | Large, classic slicing tomato |
| Moneymaker | Indeterminate | Reliable, disease-resistant British favourite |
| Tiny Tim | Determinate | Miniature — perfect for windowsills |
Starting Seeds Indoors
Timing
Start seeds 6-8 weeks before your last frost date. In most regions, this means sowing in late February to mid-March.
Step by Step
- Fill seed trays with moist seed-starting mix (not garden soil)
- Plant seeds 6mm deep — about the depth of a pencil eraser
- Cover lightly with soil and mist with water
- Cover trays with clear plastic or a humidity dome
- Place in a warm spot — 20-25°C is ideal. A heat mat speeds things up
- Seeds germinate in 5-10 days
After Germination
- Remove the cover immediately
- Move to bright light — a south-facing window or grow lights (14-16 hours per day)
- Water from below to prevent damping off
- When seedlings have their first true leaves, pot up into individual 8cm pots
Hardening Off
You can't just move seedlings straight outdoors — they'll go into shock. Harden them off over 7-10 days:
- Start with 2 hours outdoors in a sheltered, shady spot
- Increase by 1-2 hours each day
- Gradually introduce direct sun
- By day 7-10, leave them out overnight if temperatures stay above 10°C

Planting Out
When
After your last frost date and when nighttime temperatures consistently stay above 10°C.
How
- Dig a hole deep enough to bury the stem up to the lowest set of leaves. Tomatoes root along buried stems, creating a stronger plant
- Add a handful of compost and a pinch of bone meal to the hole
- Space plants 45-60cm apart (more for indeterminate types)
- Water deeply and immediately
Support
Set up your support system at planting time — it's much harder to retrofit later:
- Stakes — simple, effective. Tie the main stem as it grows
- Cages — sturdy wire cages work well for determinate varieties
- String drops — greenhouse method. Tie a string from an overhead support, twist it around the stem as the plant grows
Watering and Feeding
Water
Tomatoes need consistent, deep watering:
- Water at the base, never the leaves (wet foliage invites disease)
- Aim for 2.5cm of water per week — more in extreme heat
- Inconsistent watering causes blossom end rot (dark, sunken spots on the bottom of fruit)
The best investment: A drip irrigation system on a timer. Consistent watering = consistent fruit.
Fertilizer
- At planting: high phosphorus fertilizer to encourage root growth
- Once flowering begins: switch to high potassium (like tomato feed) every 2 weeks
- Stop feeding 2 weeks before expected harvest for the best flavour
- Avoid high nitrogen — it produces beautiful leaves but few tomatoes
Pruning: The Sucker Question
Indeterminate tomatoes produce suckers — small shoots that grow in the joint between the main stem and a branch.
Should You Remove Them?
For most growers, yes. Removing suckers:
- Directs energy to fewer, larger fruits
- Improves air circulation (reducing disease)
- Keeps the plant manageable
How: Pinch small suckers off with your fingers. For larger ones, cut with clean scissors.
Exception: Some gardeners leave the first 1-2 suckers below the first flower cluster to create a two-stem plant. This works well in warm climates with long growing seasons.
Common Problems
Blossom End Rot
Symptom: Dark, leathery patch on the bottom of the fruit
Cause: Calcium deficiency caused by inconsistent watering
Fix: Water consistently. Mulch to retain soil moisture. Calcium sprays can help but aren't a substitute for proper watering
Blight
Symptom: Brown patches on leaves that spread rapidly
Cause: Fungal disease, often spread by wet conditions
Fix: Remove affected leaves immediately. Apply copper-based fungicide. Improve air circulation. In severe cases, remove the plant to save others
Cracking
Symptom: Splits in the skin of ripe fruit
Cause: Heavy rain or watering after a dry spell
Fix: Consistent watering. Harvest slightly early in wet weather — they'll ripen on a windowsill
Hornworms
Symptom: Rapidly defoliated plant. Large green caterpillars on stems
Fix: Hand-pick and relocate (they become beautiful hawk moths). Or introduce parasitic wasps — tiny beneficial insects that control hornworm populations naturally
Harvesting
When to Pick
Tomatoes are ready when they're fully coloured and slightly soft when gently squeezed. Don't wait for perfection — a slightly underripe tomato picked and ripened on the kitchen counter often tastes better than one left to crack on the vine.
The Last Harvest
Before the first frost, pick all remaining tomatoes — even green ones. Ripen them by:
- Placing in a paper bag with a ripe banana (the banana releases ethylene gas, which triggers ripening)
- Storing at room temperature, out of direct sunlight
- Checking daily — most will ripen within 1-2 weeks
Saving Seeds
Want to grow the same variety next year?
- Save seeds from your best, most flavourful fruit
- Squeeze seeds and juice into a jar with a small amount of water
- Leave for 3 days to ferment (this removes the gel coating)
- Rinse clean, dry on a paper towel, and store in a labelled envelope

Why Homegrown Tastes Better
Commercial tomatoes are picked green and ripened with ethylene gas during transport. They're bred for shelf life and uniform appearance, not flavour.
Homegrown tomatoes ripen on the vine, develop full sugar complexity, and are eaten within hours of picking. It's not a subtle difference — it's a completely different experience.
One plant can produce 3-5kg of fruit over a season. That's dozens of salads, batches of sauce, and enough summer flavour to make the dark months of winter a little more bearable.

Check out our tomato plant page for quick care facts, or continue exploring the Seedora blog.